
Wildlife Photography Gear for Beginners: Build a Complete Kit by Budget
Build a wildlife photography kit around the animals you actually photograph
The best beginner kit is not the one with the longest shopping list. It is the lightest, simplest combination that gives you enough reach, dependable autofocus and protection for the places you will really visit.
Wildlife photography can become expensive quickly because distance exposes every weakness in a kit. A short lens makes a small bird occupy only a fraction of the frame. A slow or confusing autofocus system loses the subject when it moves behind reeds. A camera bag that feels acceptable indoors becomes miserable after three miles. Yet none of that means a beginner needs a professional body, a 600mm prime lens and a specialized tripod head on day one.
Begin with the subject. Backyard birds, zoo animals and large mammals at moderate distances can be photographed with less reach than a warbler high in a tree or a shorebird across a tidal flat. Birds in flight place more pressure on autofocus, viewfinder technique and burst shooting than an alligator resting near a boardwalk. Hiking places a harder limit on weight than photographing from a fixed blind or vehicle.
This guide therefore treats a wildlife kit as a system: camera, compatible lens, memory card, power, carrying method and weather protection. It also shows where to save. A modest camera with a useful telephoto lens usually creates more wildlife opportunities than an expensive body paired with a short kit zoom.
Quick wildlife-kit selector
Choose the situation that best describes your photography. The result identifies a kit category and a sensible place to spend—not a guarantee that one product is perfect for every photographer.
Compatibility matters more than brand loyalty. Confirm the exact camera mount, lens format, battery and memory-card specification before ordering.
What matters more for wildlife: the camera or the lens?
For most beginners, the lens determines what can be framed while the camera determines how easily the moment can be captured. A modern entry-level mirrorless body can produce excellent files in good light, but it cannot turn a short 45mm or 50mm kit lens into a bird lens. Wildlife subjects are often small, distant, partly hidden and unwilling to pose. Reach changes the size of the subject in the frame before cropping begins.
That does not make the camera irrelevant. Animal or bird detection can help the focus system find an eye among feathers, fur, branches and water. Continuous autofocus must keep adjusting as the subject approaches or changes direction. A clear viewfinder, comfortable grip and controls you can reach without looking down matter when a bird launches unexpectedly. Burst depth also matters: the advertised frames-per-second number is less useful when the camera slows after a brief sequence because the buffer or memory card cannot keep up.
The practical order is therefore: choose a lens range that fits the subject; choose a body that can focus and handle that lens; then reserve enough money for one reliable card, one spare battery and a safe way to carry the combination. Do not spend the entire budget on the body and assume accessories or a longer lens can be solved later.
Choose the kit by subject—not by the biggest number on the box
Backyard birds and feeders
Start around the 300–400mm-equivalent field of view and move closer through feeder placement, a clean background and patience. Small birds still benefit from more reach, but predictable perches let technique compensate for a modest lens.
Spend on: a light telephoto and quick access. Save on: a heavy tripod unless you remain in one fixed place.
Wading birds and shorebirds
Open wetlands and beaches often keep photographers farther away than expected. A path toward 400–600mm is useful, especially for small shorebirds. Pay attention to salt spray, wet sand and bright reflective backgrounds.
Spend on: reach and weather protection. Save on: a fast constant aperture if most work happens in daylight.
Zoos and wildlife parks
A 200–400mm range is frequently enough because subjects are contained and viewing areas can be close. A shorter minimum focal length is valuable when an animal approaches the enclosure. Lens hoods help reduce reflections when shooting through glass.
Spend on: a versatile zoom. Save on: 600mm unless the facility has unusually distant habitats.
Large wildlife at moderate distances
Deer, horses, alligators and other large subjects can fill the frame with less focal length than small birds. Distance must always be set by safety and local rules—not by the desire for a tighter composition.
Spend on: a flexible 100–400mm-style zoom. Save on: extreme reach that makes it difficult to include the animal’s environment.
Birds in flight
Autofocus, viewfinder practice, shutter speed and manageable lens weight become central. A lens that is technically longer but difficult to aim may produce fewer keepers than a lighter 350–500mm-equivalent setup.
Spend on: tracking, handling and a sustained burst card. Save on: a tripod for active handheld tracking.
Travel and hiking
The best lens is the one still in your bag after hours on the trail. Crop-sensor and Micro Four Thirds systems can provide substantial equivalent reach without the size of a large full-frame super-telephoto.
Spend on: low total carry weight and a comfortable backpack. Save on: a massive lens chosen for rare situations.
What four real wildlife photographs reveal about gear
Equipment advice becomes more useful when it is tied to the visual problem in front of the camera. These examples show why different subjects create different priorities.


Shutterstock disclosure: A Wandering Mind, a Kestrel Ventures LLC property, may receive compensation when a reader follows the linked Shutterstock referral pages. It costs the reader nothing extra and does not change the photographic analysis.
Four complete beginner kit paths
These paths are deliberately different. The first minimizes entry cost, the second emphasizes value and reach, the third minimizes hiking weight, and the fourth prioritizes a long growth path. Product availability changes, so use each as a blueprint and confirm the exact contents, seller, mount and warranty before purchasing.
Canon EOS R50 two-lens kit
The compact R50 paired with the RF-S 55–210mm lens creates a practical learning setup for zoos, feeders, large wildlife and approachable birds in bright conditions. On Canon’s APS-C format, 210mm gives a tighter field of view than the same marked focal length on full frame. The limitation is important: small or distant birds will still look small, so this is a learning kit rather than a final answer for serious birding.
View the Canon EOS R50 two-lens kit on AmazonPaid link
Zoos, backyard practice, large animals, travel and learning autofocus.
Bird photographers will probably want more reach later; avoid assuming a bundle’s small extras replace quality accessories.
Canon EOS R50 body + RF 100–400mm
This combination is the most balanced recommendation in the guide for a new buyer who expects birds and wildlife to remain a long-term interest. The R50 provides a compact APS-C body with subject detection and fast electronic burst options, while the RF 100–400mm provides a much more useful wildlife range than a standard kit telephoto. It is light enough for walking and long enough for many feeder, wetland, zoo and daylight bird situations.
View the Canon EOS R50 body on AmazonPaid link
View the Canon RF 100–400mm lens on AmazonPaid link
Backyard birds, wetlands, zoos, travel and a first serious telephoto.
The lens becomes relatively slow at the long end, so early morning and heavy shade demand higher ISO or slower subjects.
OM System OM-5 Mark II + M.Zuiko 75–300mm II
This path is built around carry weight. The OM-5 Mark II body is compact and weather-sealed, and the 75–300mm lens provides a 150–600mm full-frame-equivalent field of view in a remarkably light package. That makes the combination attractive for hikers who would leave a large 600mm zoom at home. The tradeoff is low-light performance and lens protection: the body is weather-sealed, but the 75–300mm lens itself is not listed as weatherproof, so a rain cover still matters.
View the OM System OM-5 Mark II on AmazonPaid link
View the M.Zuiko 75–300mm II on AmazonPaid link
Day hikes, travel, distant daylight wildlife and photographers with strict weight limits.
Use care in shade and at dawn; high shutter speeds may force ISO upward, and the lens is not weather-sealed.
Nikon Z50II + NIKKOR Z 180–600mm VR
The Z50II brings dedicated bird detection and Nikon’s current processing platform to an APS-C body. The 180–600mm is a genuine super-telephoto with internal zoom and optical vibration reduction. This path offers reach and room to grow, but it is not a casual carry kit. The lens changes the backpack, support and handling requirements, and a beginner should try a lens of similar size before committing.
View the Nikon Z50II body on AmazonPaid link
View the NIKKOR Z 180–600mm VR on AmazonPaid link
Birds, shorebirds, distant wildlife and photographers prepared for a large lens.
The lens dominates the system. Budget for a suitable bag and support, not only the body and glass.
A compact Sony alternative
Photographers already invested in Sony E mount can build a capable hiking and birds-in-flight setup around the Sony a6700 bodyPaid link and the Sony E 70–350mm G OSSPaid link. The lens offers a 105–525mm-equivalent field of view on APS-C while remaining far easier to hike with than a 200–600mm lens.
How much telephoto reach do you need?
Focal length is only one part of the result. Sensor format changes the field of view, distance changes subject size, and cropping reduces final resolution. Still, these ranges provide a useful starting point. Equivalent field of view is used below to make different camera formats easier to compare.
Practical reach ladder
| Approximate equivalent reach | Works well for | Common limitation |
|---|---|---|
| 200–300mm | Zoos, large animals, nearby birds, environmental portraits and travel. | Small birds often remain tiny unless the photographer can work close. |
| 300–400mm | Feeders, larger birds, wetlands with reasonable access and general wildlife. | Distant shorebirds and small canopy birds may still require heavy cropping. |
| 400–600mm | Birds, shorebirds, skittish wildlife and open habitats. | Size, cost, slower apertures and narrower framing can make the lens harder to use. |
| More than 600mm | Very small or distant subjects, specialized bird work and controlled stationary positions. | Atmospheric haze, heat shimmer and technique can erase the benefit of extra magnification. |
Do not confuse focal length with permission to approach. Use boardwalks, viewing areas and local guidance. Never move closer to a dangerous animal because the current lens is short, and never disturb a nest, den or feeding animal to fill the frame.
Accessories worth buying early
The useful accessory list is short. Each item below solves a specific field problem rather than making the kit look complete.
One dependable SD card
Wildlife bursts create sustained writing demands. Match the card to the camera’s supported bus and speed class instead of buying the largest number on the label.
SanDisk Extreme PRO 128GB UHS-I cardPaid link
One spare battery
Cold weather, continuous autofocus, image review and long waits use power. Buy the battery only after confirming the exact body. For the Canon R50 paths, the official battery format is LP-E17.
Canon LP-E17 battery packPaid link
Monopod or tripod
A monopod supports a large lens while preserving movement. A tripod is more useful for waiting at a fixed position, video, low angles and long sessions. Confirm the support’s actual load capacity and fit.
Manfrotto XPRO aluminum monopodPaid link
Peak Design aluminum travel tripodPaid link
A backpack sized for the mounted lens
Measure the camera with its wildlife lens attached. Rear access can keep the opening away from mud or sand, while adjustable dividers prevent heavy gear from shifting.
Lowepro Flipside BP 300 AW IIIPaid link
Rain and spray protection
Weather-sealed does not mean waterproof, and a sealed body does not protect an unsealed lens. A simple cover also helps with sand and salt spray.
Simple cleaning tools
Blow or brush loose grit away before touching glass. Avoid aggressive cleaning in the field, especially around sand.
LensPen NLP-1 cleaning penPaid link
Binoculars for finding wildlife
A camera viewfinder is a poor scanning tool. Binoculars help locate movement, observe behavior and decide where to wait before lifting a heavy lens.
Nikon PROSTAFF P7 8x42 binocularsPaid link
Accessories most beginners can postpone
A credible kit guide should also make the shopping list shorter. These items can become useful later, but they rarely solve the first problems a new wildlife photographer faces.
- Teleconverters: they add reach but also reduce the effective aperture and may narrow compatibility. Learn the base lens first.
- Professional gimbal heads: valuable with heavy lenses from fixed locations, unnecessary for a light handheld kit.
- Camouflage lens wraps: protection and comfort can be useful, but they do not replace fieldcraft or respectful distance.
- Multiple filters: a protective filter can create reflections or reduce contrast; buy only for a specific need.
- Oversized accessory bundles: many include low-value tripods, cards or add-on lenses that do not improve wildlife results.
- A pile of cards and batteries: begin with one dependable card and one spare battery, then expand after observing real usage.
Beginner wildlife settings that create a useful starting point
These are starting values, not fixed rules. Light, subject motion and lens aperture change the correct choice. Save a custom wildlife mode after you understand how your camera labels each setting.
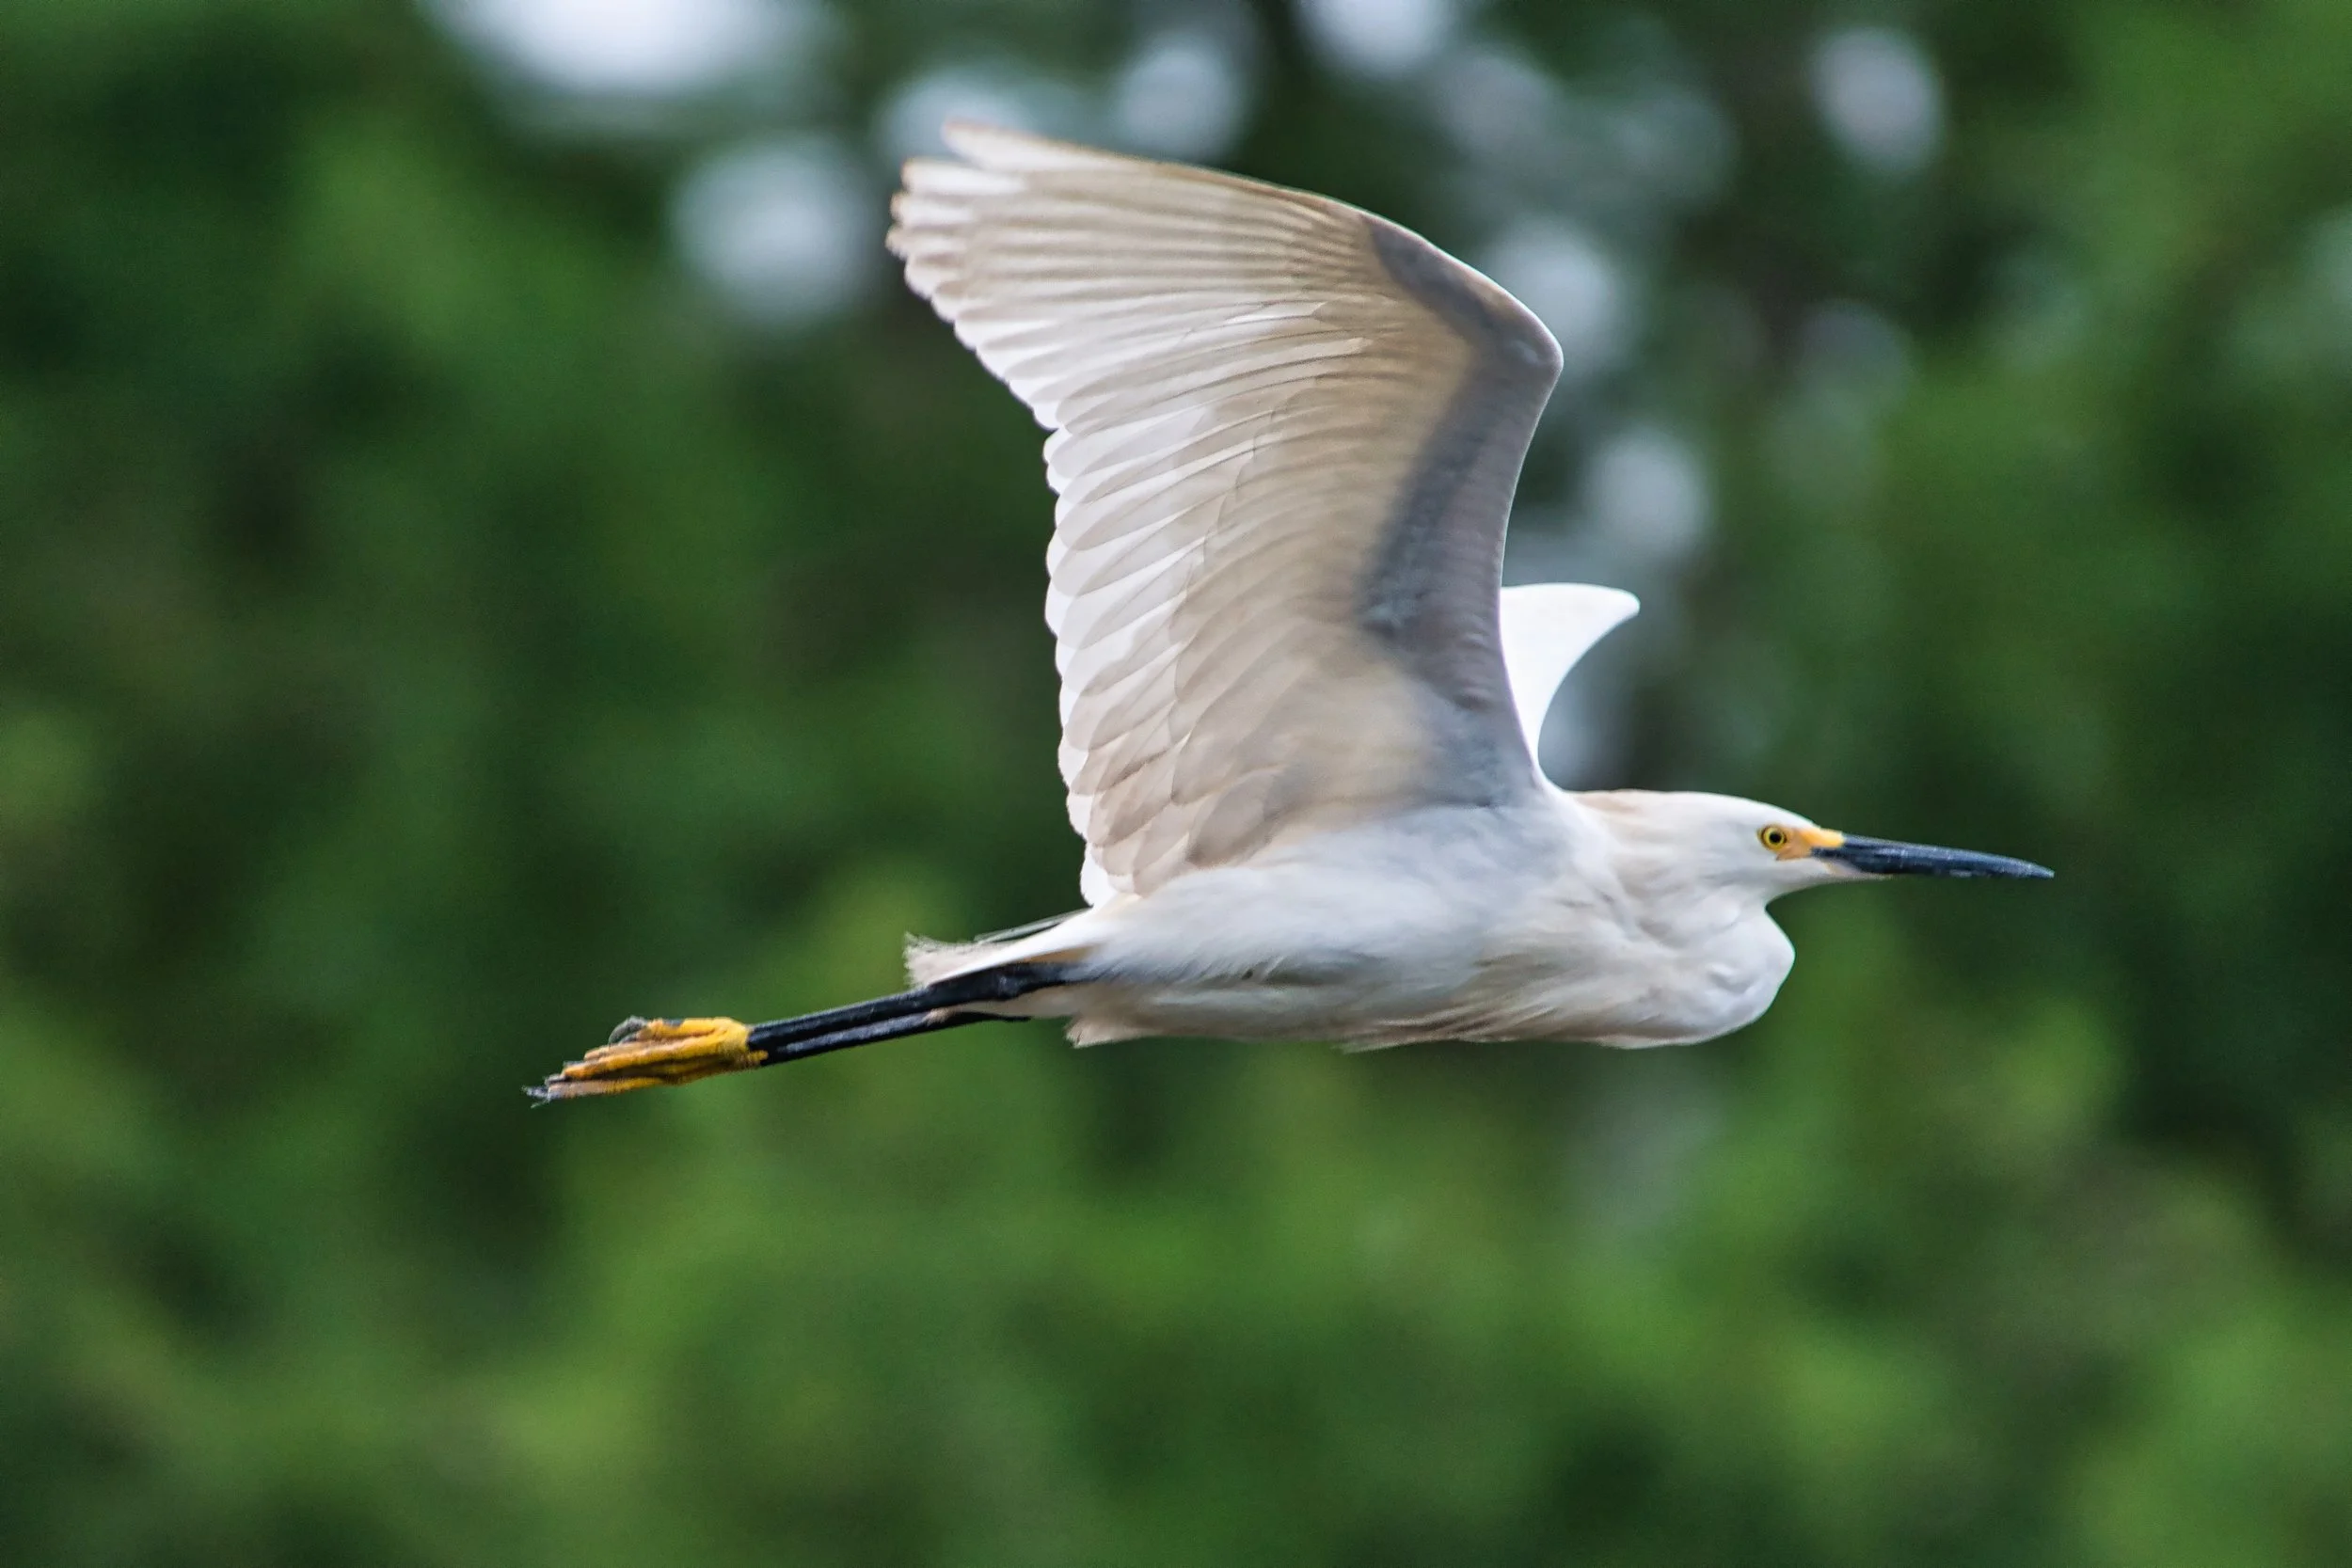
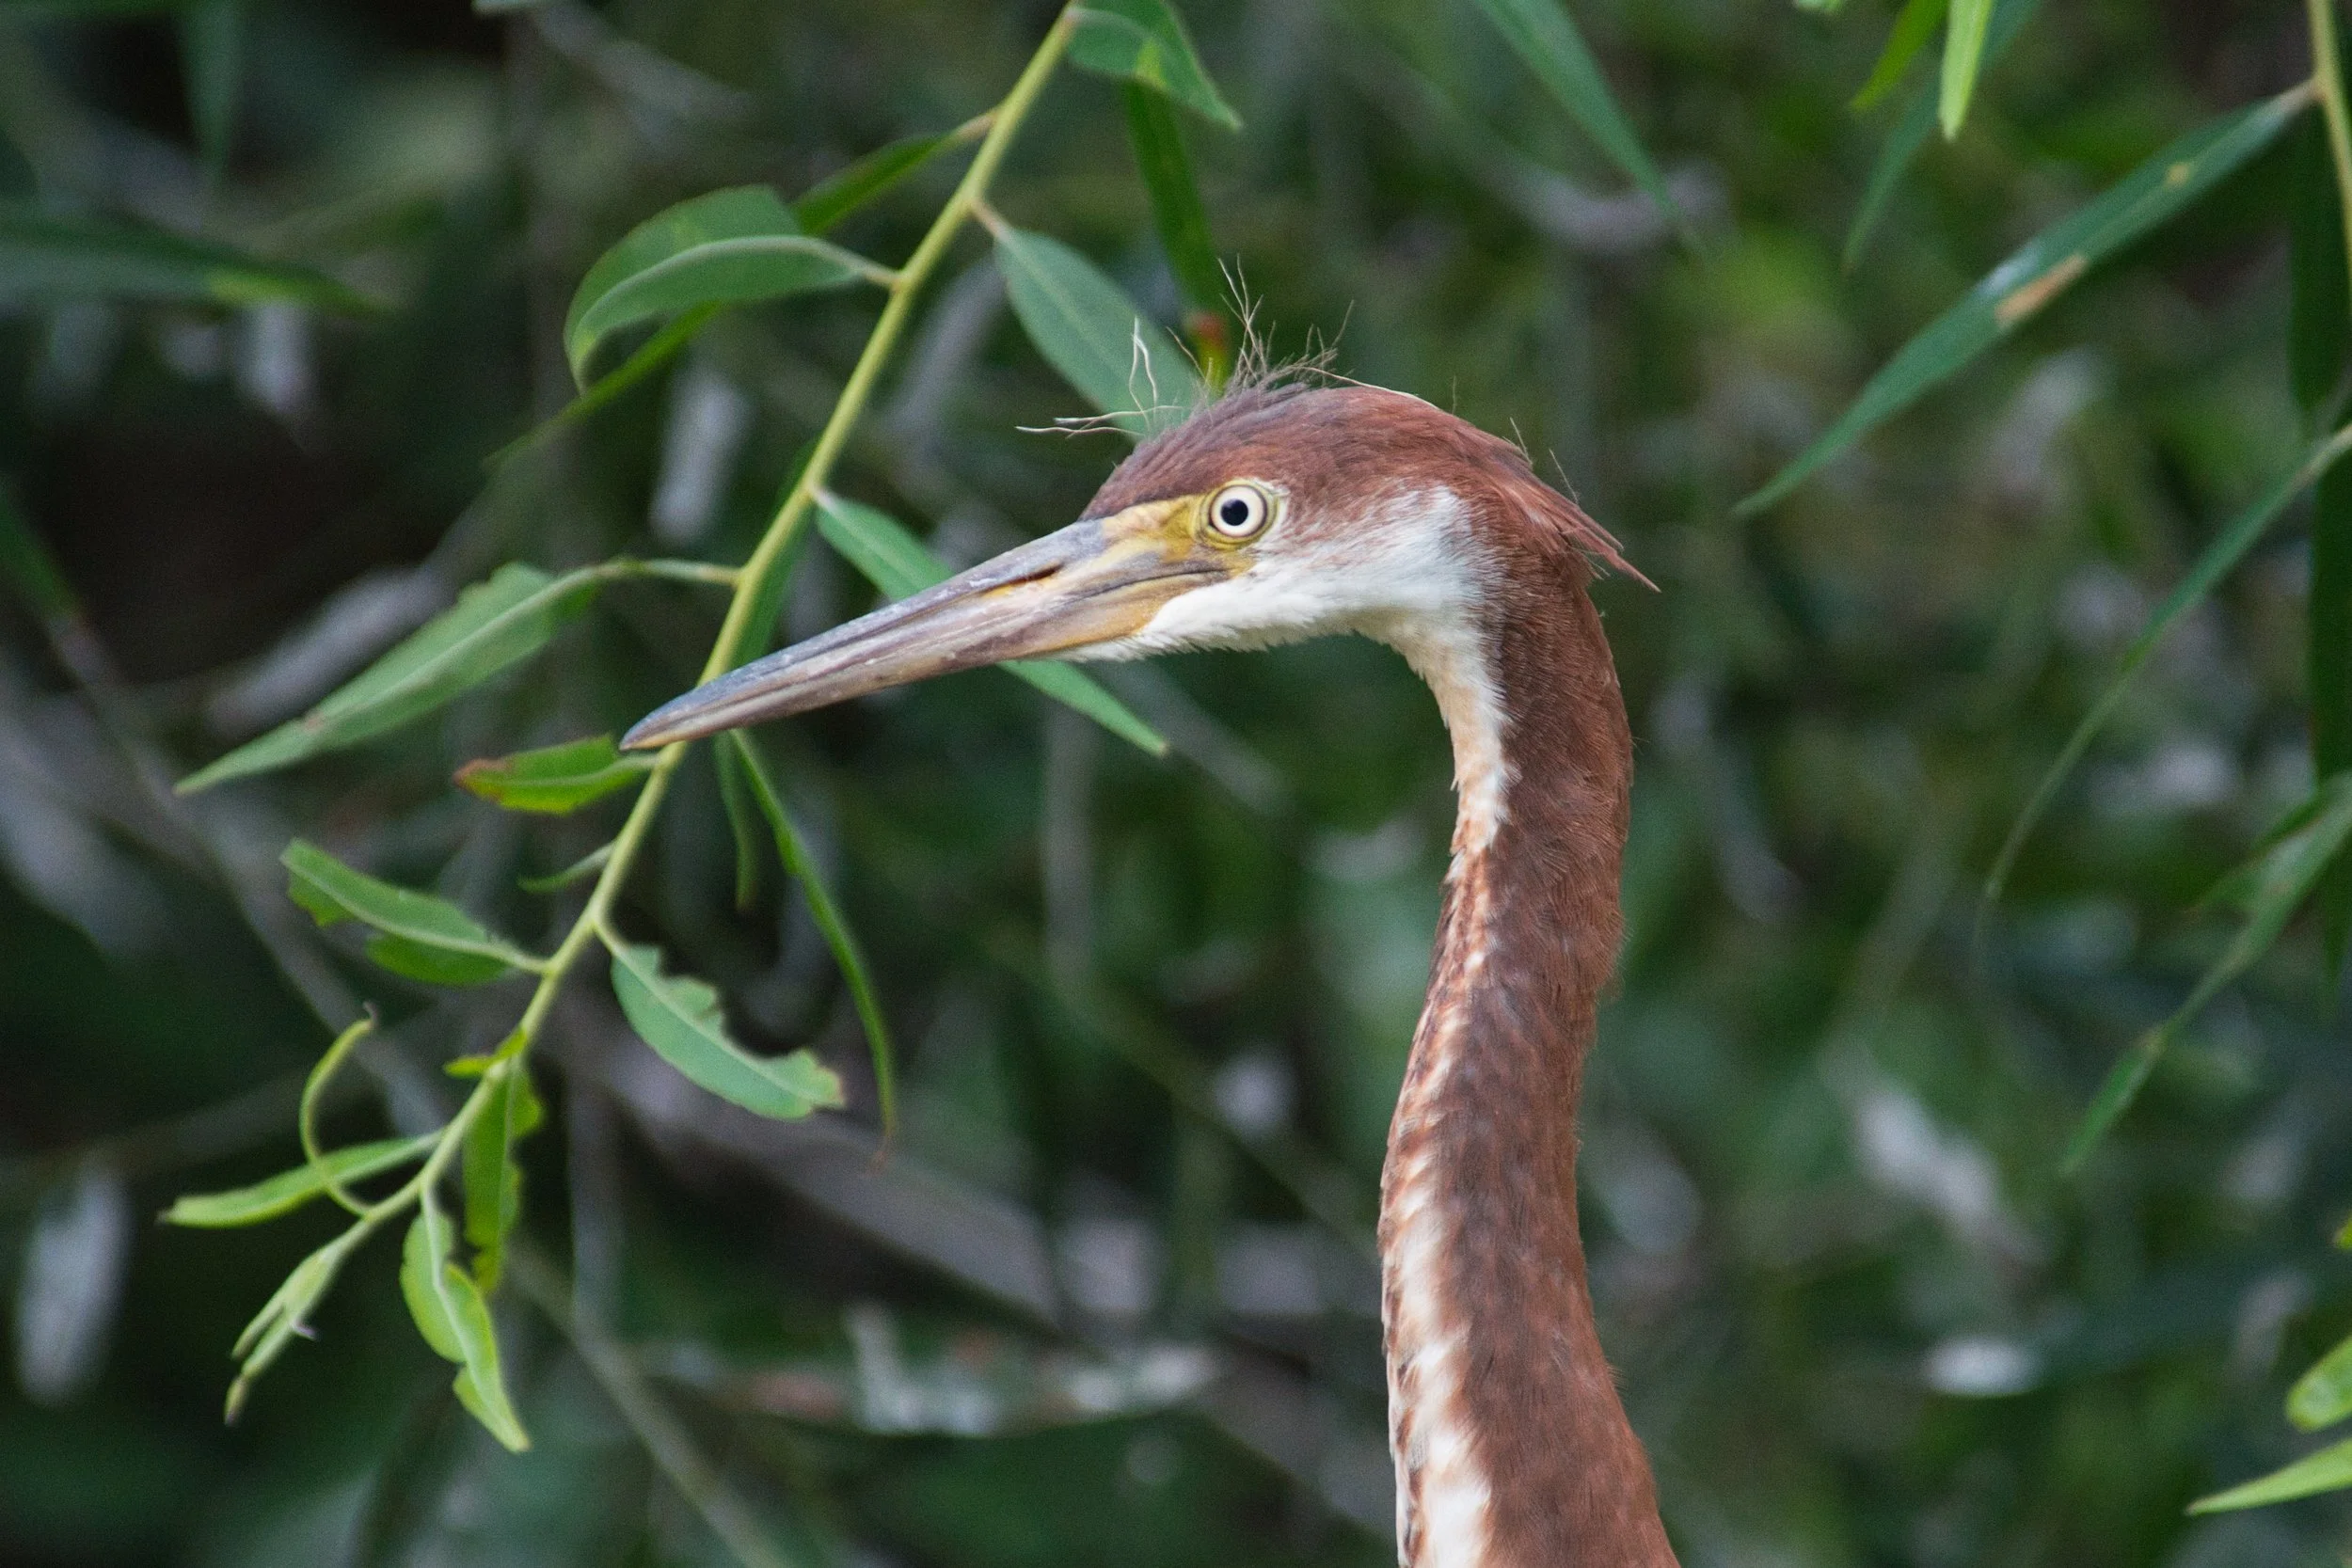
Autofocus automation is a helper, not a substitute for control. When a Green Heron is surrounded by reeds, switch from a wide automatic area to a smaller zone or point. When a Snowy Egret crosses a dark background, check the histogram or highlight alert rather than trusting the preview brightness. When a bird flies toward the camera, keep the tracking area on the head and continue panning after pressing the shutter.
Preparing strong wildlife images for licensing
Capturing the frame is only the beginning. A licensable file should be technically clean at normal inspection size, accurately described and free of avoidable processing artifacts. RAW capture provides more tonal and color information for correcting exposure and white balance than an already processed JPEG, which is especially helpful with white plumage, dark feathers and mixed wetland light.
For Shutterstock submission, export a high-quality JPEG in sRGB and confirm that the file meets the current minimum dimensions. Add a concise description, relevant category and accurate keywords that identify the subject, behavior and location without guessing. Recognizable people and certain properties may require releases. Wildlife itself does not require a model release, but logos, private property and identifiable visitors can create separate issues.
The complete upload, metadata, review and release workflow is covered in How to Submit Photos to Shutterstock. Treat licensing as a quality-control process, not a promise of earnings.
Frequently asked questions
Is 300mm enough for wildlife photography?
It can be enough for zoos, large animals, nearby birds and environmental wildlife images. Small or distant birds usually require closer field access, more cropping or a longer lens. On APS-C and Micro Four Thirds cameras, the field of view is tighter than the same marked focal length on full frame.
Is 400mm enough for bird photography?
Four hundred millimeters is a strong general starting point for feeders, larger birds and many wetland situations. Small shorebirds or canopy birds may still benefit from 500–600mm, but field technique, light and distance often matter more than another small increase in focal length.
Do I need a tripod for wildlife photography?
No. Light lenses and birds in flight are commonly photographed handheld. A monopod helps with a heavy lens while preserving movement. A tripod becomes more useful for long stationary sessions, video, low-angle work and very large lenses.
Is APS-C better for wildlife?
APS-C provides a tighter field of view with a given lens, which can help when reach is limited. Full-frame cameras may offer advantages in low light and image quality, while Micro Four Thirds can provide even more compact equivalent reach. The complete system matters more than declaring one sensor universally better.
Can a beginner camera photograph birds in flight?
Yes. Modern beginner bodies can track and burst quickly enough for birds in flight, especially in good light. Success depends on practice: finding the bird early, panning smoothly, choosing a fast shutter speed and understanding when the autofocus system loses the subject.
Should I buy the lens or camera first?
Choose the lens range first, then select a compatible body that handles it well. A camera body is replaced more often than a good lens, and a short lens cannot be corrected by buying a more expensive body.
Is used wildlife gear worth considering?
Yes, especially lenses from reputable sellers with clear condition grading and return policies. Check mount compatibility, autofocus operation, stabilization, fungus, haze, impact damage and whether the item includes the correct collar, hood and caps. Avoid a bargain that cannot be tested or returned.
Visible sources
- Canon EOS R50 specifications
- Canon RF 100–400mm product and technical information
- Nikon Z50II overview and autofocus features
- NIKKOR Z 180–600mm VR technical information
- Sony a6700 specifications
- Sony E 70–350mm G OSS technical information
- OM System OM-5 Mark II overview and specifications
- M.Zuiko 75–300mm II technical information
- SD Association speed-class standards
- Adobe: RAW versus JPEG
- Shutterstock image technical requirements
- Shutterstock submission, metadata and release workflow
Published by A Wandering Mind, a Kestrel Ventures LLC property. This article contains disclosed Amazon and Shutterstock referral links. Recommendations are educational, inventory can change, and readers should verify current compatibility and seller details before purchasing. AI-assisted, human-reviewed editorial content.